A LITTLE COFFEE KNOW-HOW
Milk and latte art.
Good milk for latte art looks like wet paint. Glossy, fine, no visible bubbles. Five steps get you there. The rest is practice, and the best time for that is every morning.

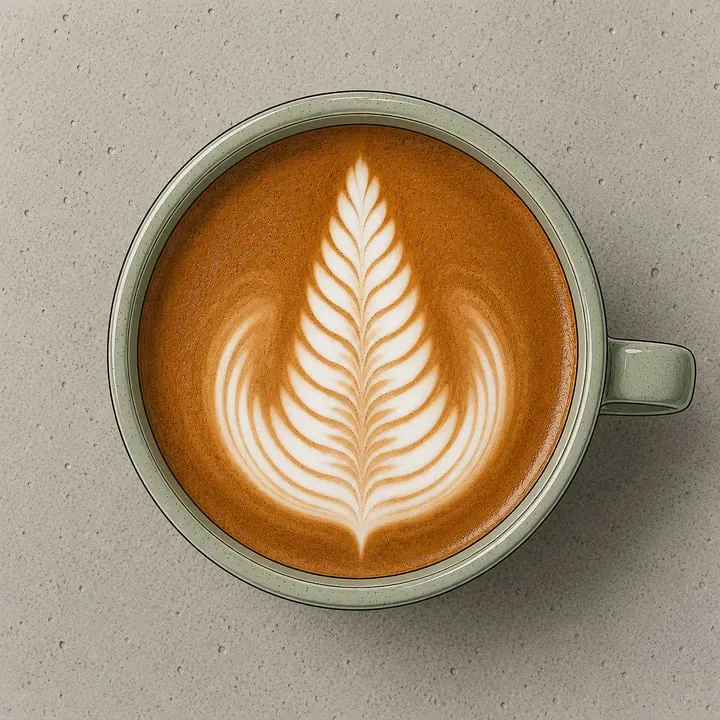
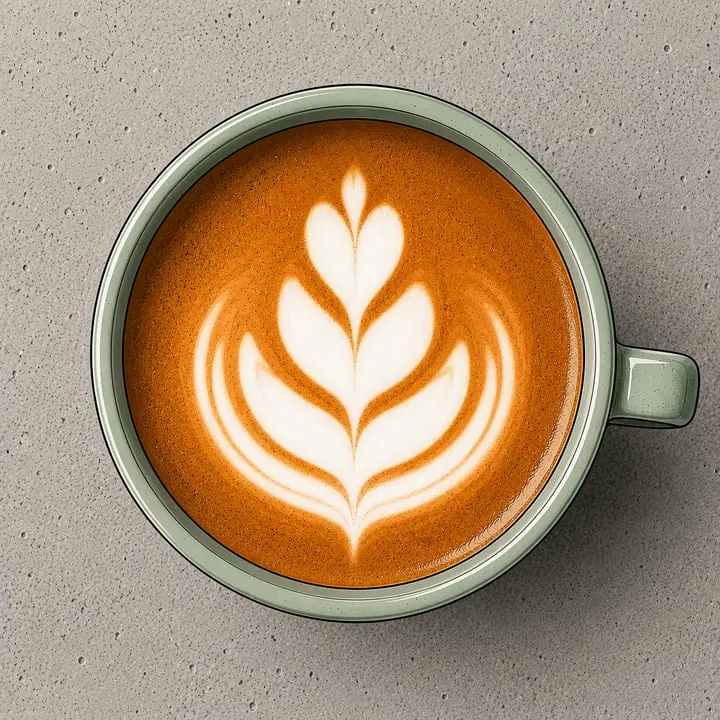
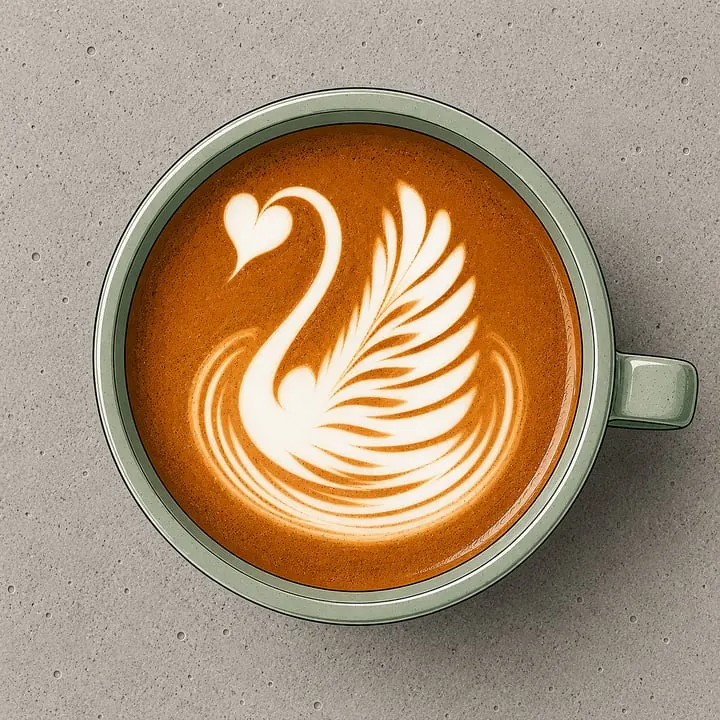
- Start cold. Cold milk, ideally a cold jug too. The longer the milk takes to warm up, the finer the foam. Don't fill it too high. The milk needs room to rise.
- Stretch. Steam wand just below the surface, steam on. A quiet, even hiss means air is going in. Only a few seconds. If it sounds like tearing, the wand is too high.
- Let it roll. Wand a little deeper, jug slightly tilted. The milk starts to turn and pulls the big bubbles down, where they break up. Put your hand on the body. When it's too warm to hold, steam off.
- Tap and swirl. One short tap on the worktop to pop the last bubbles. Then swirl until the surface shines like lacquer.
- Pour. Start from a little height into the middle of the cup so milk and espresso blend. Then come close, spout almost touching the surface. Now the milk stays on top and the pattern appears. Finish by lifting and pulling through once.
Common mistakes:
- Big bubbles? Too much air, or the milk started rolling too late.
- Milk sinks? Spout too high.
- Pattern spreads? Milk too thin, stretch a little longer next time.
The first heart is rarely pretty. The tenth usually is.
Three drinks, one jug
- Flat white: double espresso, a little very fine milk. One LUN makes two.
- Cappuccino: more foam, same cup. One LUN, one cappuccino.
- Matcha latte: whisk matcha smooth with a little hot water, then pour steamed milk over it. Works the same with cocoa.